
Why are my photos blurry? Diagnose the cause before changing settings
A blurry photo does not always mean the same thing. Camera shake, subject movement, missed focus and very shallow depth of field can all create a soft image, but each one needs a different fix. The fastest way to improve is to identify which problem actually happened.
1. Camera shake: the whole image looks soft
When the camera moves during the exposure, stationary objects can all look slightly smeared. This often happens in low light when shutter speed becomes too slow for handheld shooting. A faster shutter speed, better support or stabilisation may help.
2. Subject movement: the background is sharp but the subject is not
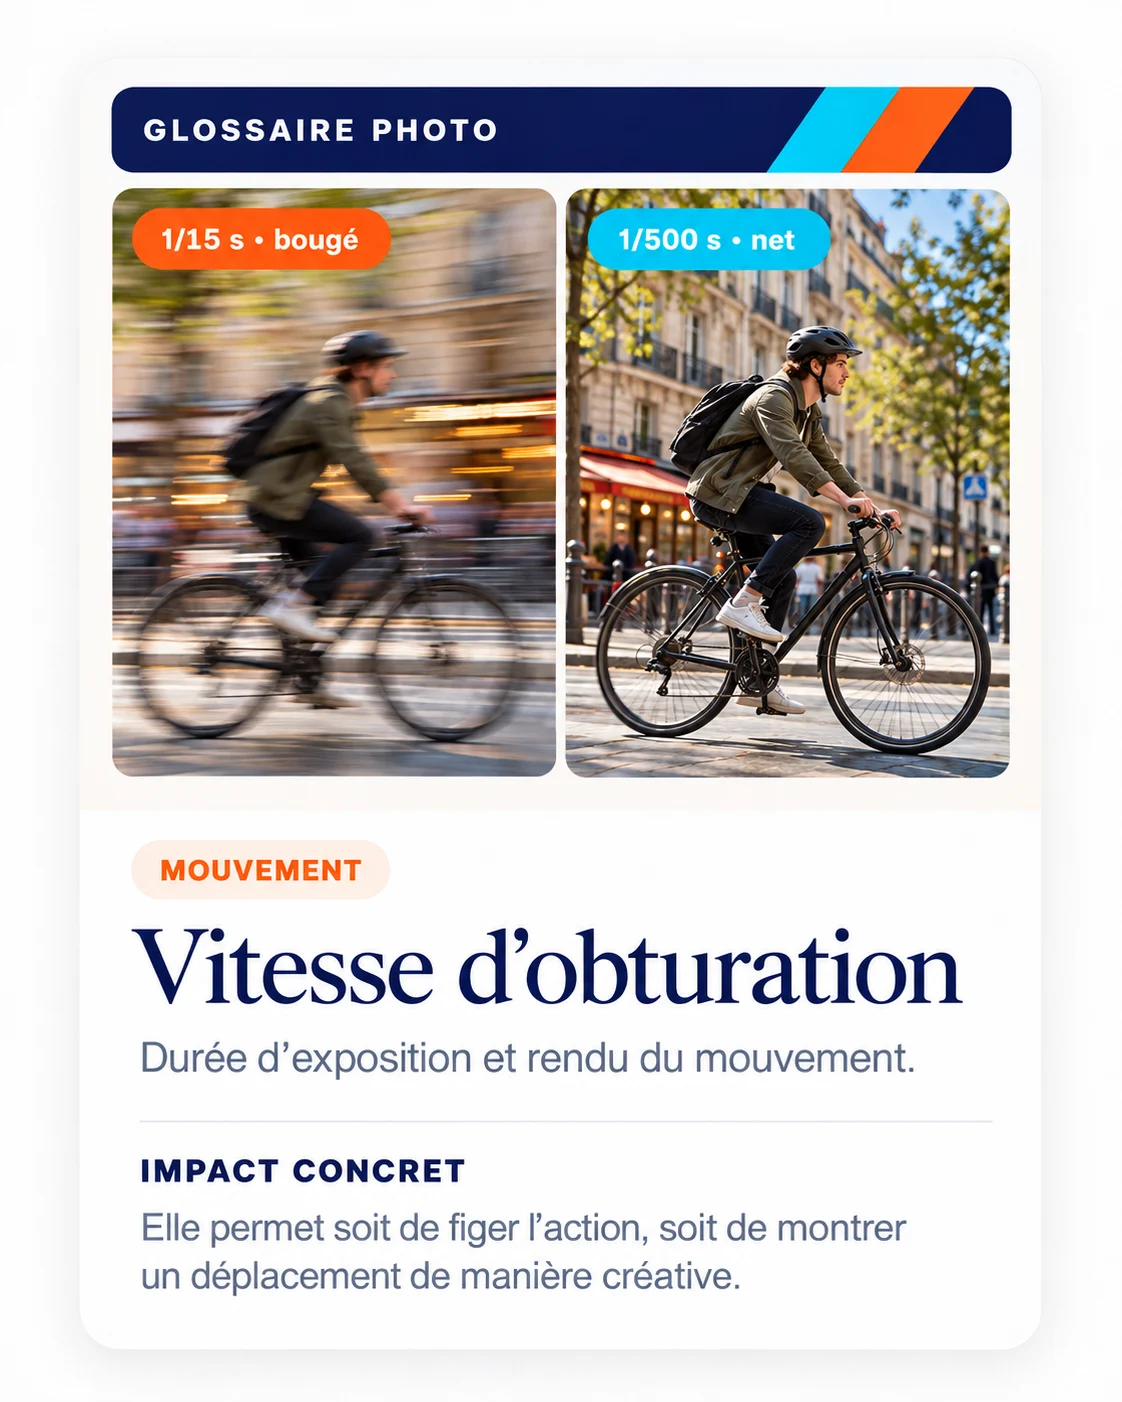
If the scene is sharp but a person, animal or vehicle is blurred, the shutter speed may simply be too slow for that movement. The solution is usually to prioritise a faster shutter speed and compensate with aperture or ISO.
3. Missed focus: something else is sharper than your subject
Sometimes the camera is perfectly steady but focus landed on the wrong plane. Check whether hair, clothing or the background is sharper than the eyes or the main subject. Focus mode, focus point placement and subject tracking can matter more here than exposure settings.
4. Depth of field is too shallow
At wide apertures and close distances, only a thin slice of the scene may be sharp. One eye can be sharp while the other is not. This is not necessarily a focusing error: you may simply need a smaller aperture or a slightly greater subject distance.
Do not fix every blurry photo by raising ISO
Higher ISO can help you use a faster shutter speed, but it only solves certain blur problems. If the real issue is missed focus or insufficient depth of field, ISO is not the direct fix. Understanding the exposure triangle helps you make the right trade-off.
Use your own photo as the lesson
Photo Coach is built around this diagnostic approach. Instead of memorising generic rules, you can analyse a photo you actually took, understand what may have limited it, and turn that feedback into a concrete change for the next shot.
Try the AI photo critique to examine composition, exposure, sharpness, light and colour together rather than guessing from one symptom.